Pulling features
The aim of Dentest is to help you go to a more behavior driven approach, by letting non-developers use the web platform, and letting developers retrieve everything that has been created, inside the technical project.
How we see the developers journey:
- Pulling the features from Dentest (Gherkin files will be created in the root directory of their choice, following the tree that has been defined on Dentest)
- Implementing the missing steps so that the Gherkin interpreter can match a step to a piece of code
- Implementing the feature to make the tests pass
- Pushing this work on the versioning tool, so that the CI can run the Gherkin features as tests
- Deploying once everything is good
caution
You can only pull the features that aren't in Draft mode
Before your first pull#
Retrieving your token#
A token must be gathered in order to pull the features. This token is yours, and only works for this project. So, do not commit it.
To retrieve the token, login to Dentest, and go to the project's root page.
Click on the "Show pull token" button (you must have pull rights to see it).
A dialog will open, with your token in it. Copy it (or click the "Copy" button).
Refreshing the pull token#
If your token has been compromised, or just to change it, you can also do it from Dentest. Follow the same steps than for the token retrieval, and instead copying the token, just click on the "Regenerate" button.
caution
The previous token will be revoked, you won't be able to use it after this action
Pulling#
Using the JetBrains plugin#
If you are using an IDE from the Jetbrains suite, there is a plugin that you can use. Just search for "Dentest" in the Marketplace.
First pull and configuration#
First of, you can run Dentest from the newly created menu entry, or using the "Dentest pull" shortcut in the toolbar (a blue arrow).
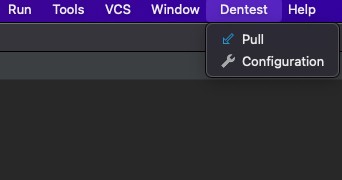
At the first pull, or if you run "Configuration", you will see the following dialog:
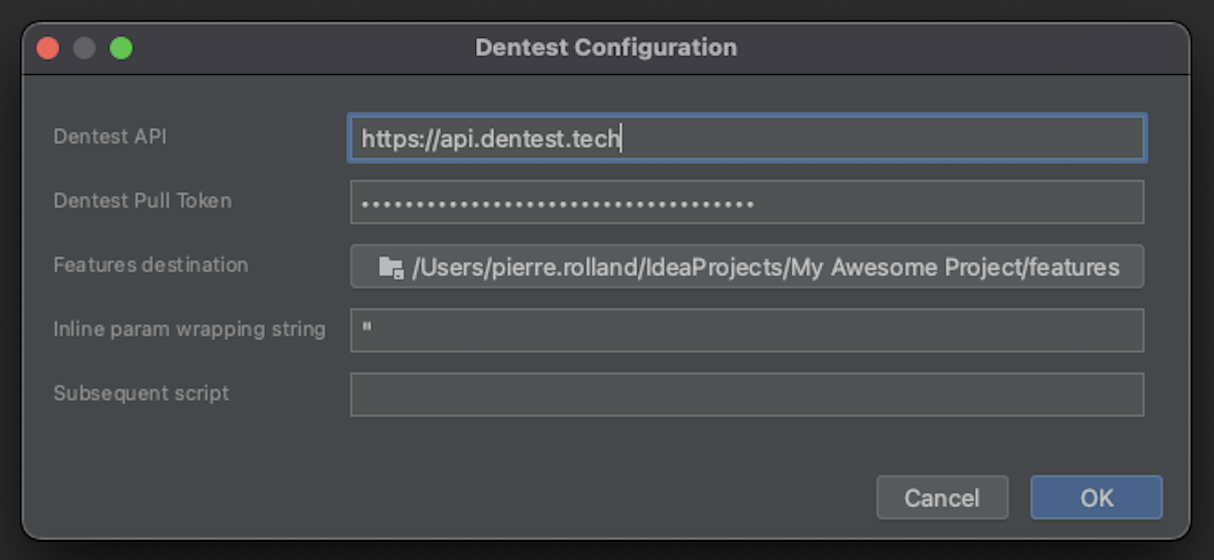
Here, you can provide the following information:
| Property | Explanation |
|---|---|
| Dentest API | The URL of the Dentest API. If you are using dentest.tech, let it as is. For a custom install, provide your own API URL. |
| Dentest Pull Token | The token you just created from the web interface |
| Features destination | The directory where you want the features to be created |
| Inline param wrapping string | The string used to surroung step sentences inlined parameters |
| Subsequent script | If you want to run a post-pull command, specify it here |
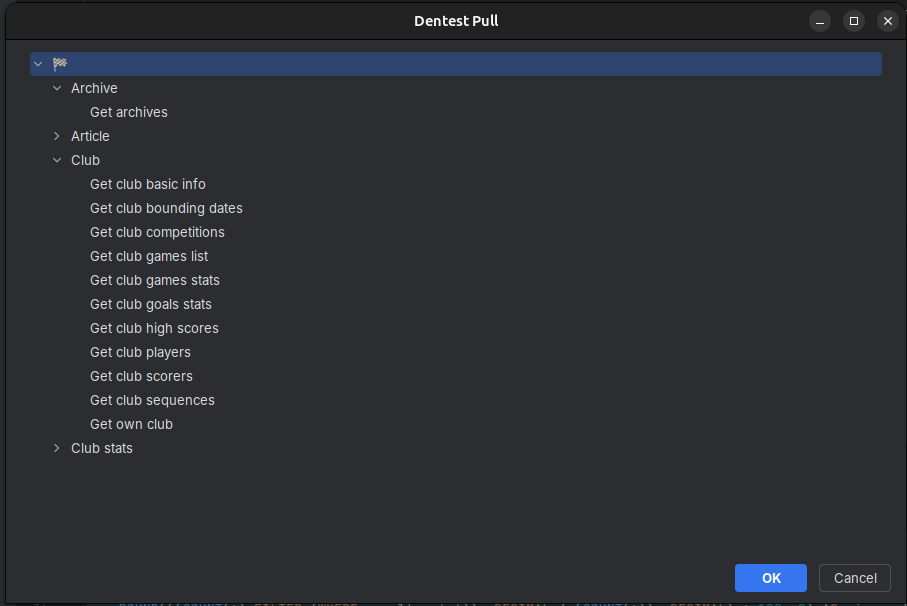
Pull#
Once everything's settled, when pulling, you'll see a list containing all your features that aren't in Draft mode. Just select the ones you want to pull and the files will be created in the directory you specified.
Using the VSCode plugin#
If you are using VSCode, there is also an extension that you can use. Just search for "Dentest" in the Marketplace.
Otherwise, here is the link
First pull and configuration#
Once installed, you'll see a new button in the status bar ("Dentest pull").

By clicking it the first time, you'll enter in configuration mode. You need to fill in some information so that the extension finds your features.
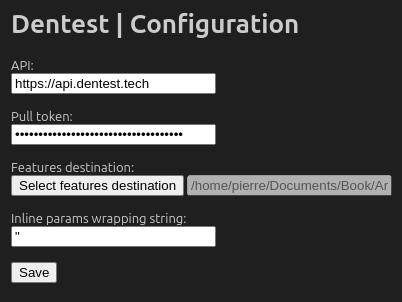
Here, you can provide the following information:
| Property | Explanation |
|---|---|
| API | The URL of the Dentest API. If you are using dentest.tech, let it as is. For a custom install, provide your own API URL. |
| Pull Token | The token you just created from the web interface |
| Features destination | The directory where you want the features to be created |
| Inline params wrapping string | The string used to surroung step sentences inlined parameters |
Pull#
Once everything's settled, when pulling, you'll see a list containing all your features that aren't in Draft mode. Just select the one you want to pull and the file will be created in the directory you specified.

Changing the configuration#
You can either reset the configuration, or update it, by running the following commands from the palette (Ctrl+Shift+P or Cmd+P for Mac): "Dentest: Configuration" and "Dentest: clear configuration"

Using the Dentest CLI#
Getting the Dentest CLI#
Look for the Dentest CLI's releases on Github: https://github.com/dentest-project/cli/releases In the latest release, download the binary that corresponds to your OS (you can choose between Mac OS or Linux (AMD64)).
caution
On MacOS, you can experience some security warnings. Just add an exception for Dentest in your computer settings.
If your OS or architecture is not in the list, just clone the project and build it using Rust Cargo (cargo build --release).
Then, rename the binary to dentest. If you're on a UNIX-based system, like Mac OS or Linux, just move the renamed
binary to /usr/local/bin/dentest
Preparing the project#
A .dentest.yml file must be created at the root of the project. It can be a different name, we'll see that later, but
this one is handled by default.
This file must contain the directory in which you want to pull the Gherkin files, and can also contain a wrapper for inline step parameters (such as quotes).
dir: features # Mandatory. The folder in which you want to pull the featuresinline_parameter_wrapper: '"' # Optional. The string that will surround the inline parameters of your features stepsThen, set the token as an environment variable named DENTEST_TOKEN, or in a .env file at the root of your project.
#.envDENTEST_TOKEN=1ebea2f2-4d36-6938-aa2f-fb602817e47ePulling the features#
Just run
dentest pullIf you couldn't set the token as an env var or in a .env file, you can also run dentest this way:
DENTEST_TOKEN=1ebea2f2-4d36-6938-aa2f-fb602817e47e dentest pullAll the features that aren't in Draft mode will be pulled inside your project. You can start implementing them!
Using a different name for the configuration file#
As said earlier, you can choose a different name for the configuration file, in replacement of .dentest.yml.
If you decide to do so, just pass an option to dentest when pulling:
dentest -c ./specs.yml pullinfo
It can have a different name, but it must be YAML file